Showing posts with label DIY Home and Garden. Show all posts

Thursday, June 17, 2010

Homegrown Bouquets for Giving


cutflowers1

Taking fresh flowers when visiting friends & family is one of my favorite things to do. Everyone appreciates the gesture, & flowers are perfect for every occasion. Plus, when you've grown them yourself, they are extra special & impressive! : )

Since March, when our garden began bursting into bloom, I've been gifting flowers left & right. It all started when I took my mom & dad a bouquet of pink heirloom roses & rosemary for their wedding anniversary, arranged in one of the canning jars I was returning to Mom. The simple beauty of that arrangement & the joy I got from giving it to them really inspired me. Since then, I've tried to take a homegrown floral gift whenever I'm invited to someone's home.

cutflowers2

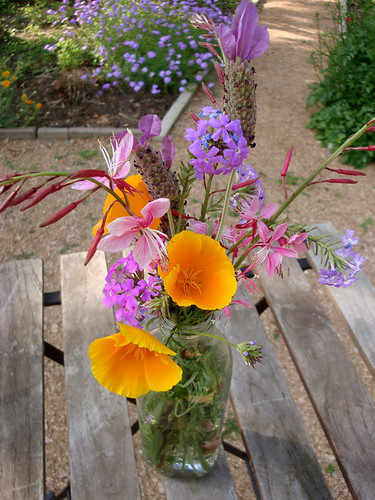
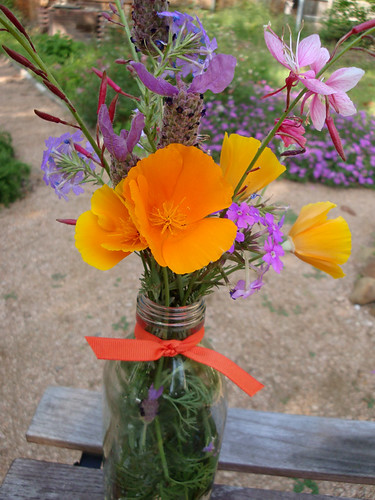
The bouquet pictured here is one that I took to my mother-in-law as a housewarming gift when Patrick & I first visited their new home in late April. It contains Verbena, Spanish Lavender, Gaura, Rosemary & California Poppies. Granted, none of these flowers are very hardy, so not usually recommended for cut flowers. They are delicate & droop & wither after a day or so, but I don't mind. Their beauty is fleeting, which to me, just makes them more amazing & worthy of our adoration.

ribbonjar
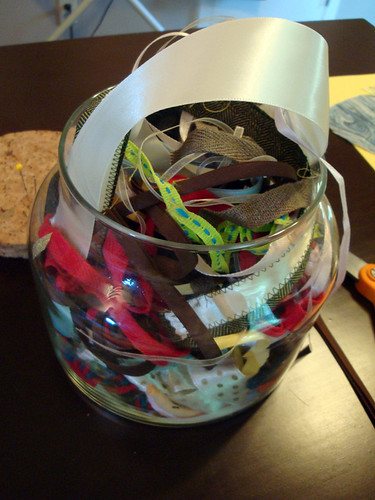
 my ribbon stash; saved from gifts & packaging & project scraps

Tips for creating your own homegrown bouquets:
- Save empty food jars & bottles of interesting shapes to use as vases; you'll want to have them on hand when the need for a host/hostess gift arises! Plus, it's a great way to reduce/reuse/recycle. I used an olive oil bottle for the arrangement pictured here.
- Tie a ribbon around the mouth of your vase to give it that finishing touch - tres shabby chic!
- Put a few inches of water in the vase before adding the flowers.
- Check for bugs on each stalk; you don't want to gift those tiny stow-aways!
- When arranging the flowers, start with the tallest ones in the middle, then add shorter ones around them.
- Keep turning the vase around as you add the flowers, to ensure that it looks pretty from all angles.
- I aim for an interesting mix of flowers that are tall & short, large & small, bold & delicate (in form & color), and upright & billowy. However, a gorgeous arrangement can also be made from only 1 or 2 kinds of flowers. Just trust your own eye - flowers are so pretty that it's hard to go wrong!

Friday, June 11, 2010

Outdoor Oasis: Patio Room Ready for Summer


outdoor_room_dusk3

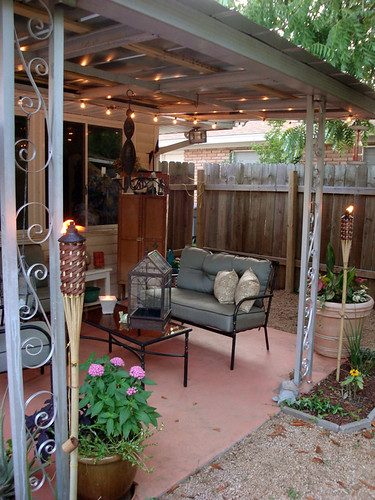
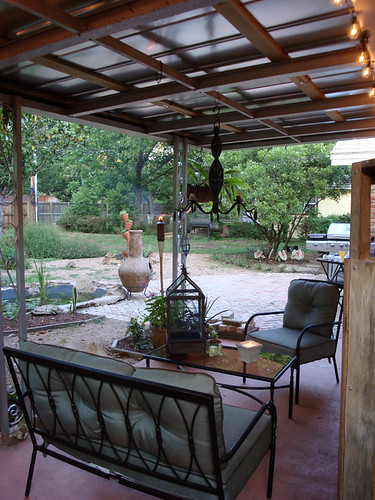
Ahhhhhh, our outdoor living room is nearly complete and we're lovin' it. Over Memorial Day weekend we added some homey touches like tiki torches, new container plantings & cafe-style string lights.

outdoor_room_dusk2

We went with Martha's Pacifica Collection for Home Depot & couldn't be happier with it. It's an amazing bargain (even more so now than when we bought ours; they've recently lowered the price)! The set is well-made, extremely comfortable to sit in, light & easy to move. Plus, the pieces are slightly smaller than most patio sets, which was important for our small space.

outdoor_room_mailbox

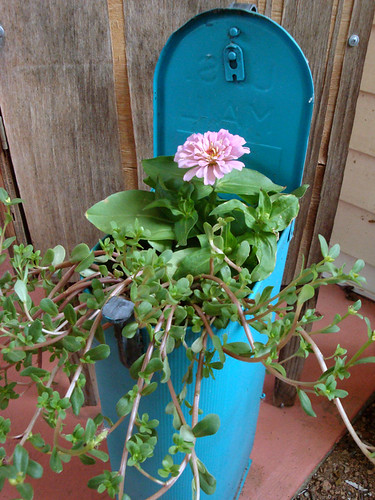
My favorite new container is our old mailbox! Cute, huh?

outdoor_room_torch

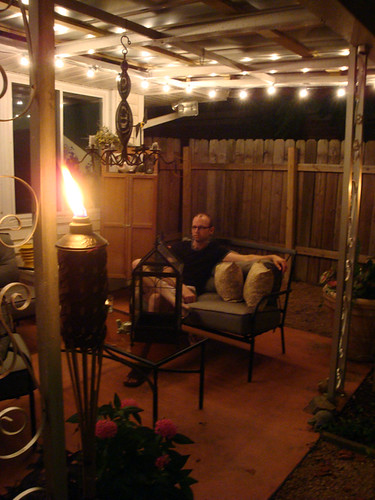
We love relaxing out here at night, listening to the toads at our little pond croaking (very loudly - kinda embarrassing!). Simple joys!

Check out my Flickr set for all the pics of our outdoor room renovation. What are your simple joys of summer? I'd love to hear about them!

{update 6/14/10: our patio is featured on Apartment Therapy! so exciting! Big thanks to Adrienne for the feature.}


Thursday, May 27, 2010

What's Growin' On: Orange Leopard Print Cannas


cannas_yelloworange

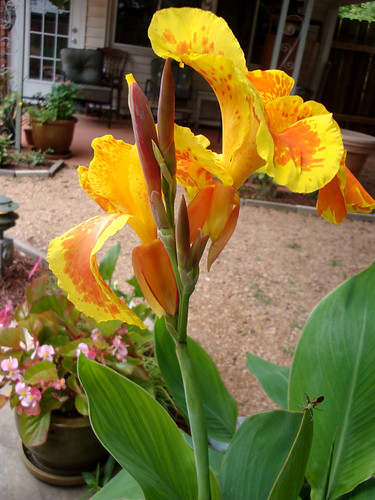
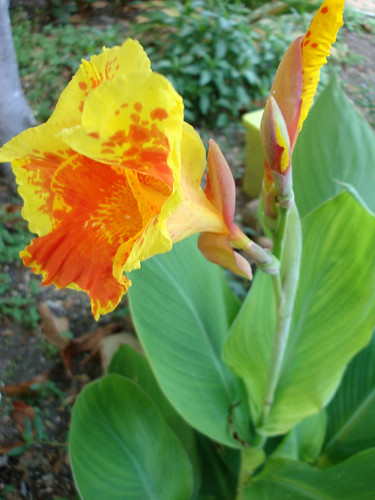
Ok, so "Leopard Print" is not the official name of these Cannas, but don't they remind you of some crazy spotted animal? They do for me. I love their bright colors! I also love how little garden bugs are always sneaking into my shots - I was totally unaware of that bug at the bottom right when snapping this.

cannas_yelloworange_buds

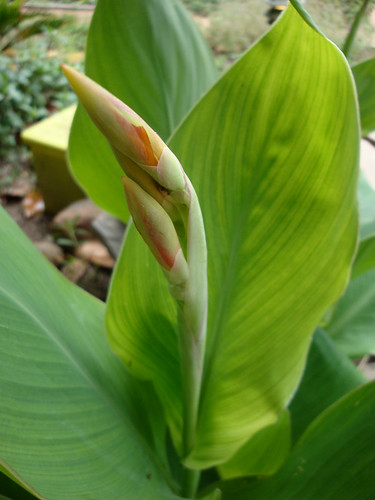
I just love Cannas so much. They have really pretty striated leaves, often much more colorful than these, with purple & reddish hues. The buds are interesting & pretty enough themselves, and then...

cannas_yelloworange_2ndbloom

they burst forth with a colorful explosion like this! This bunch behind our pond is the first of our Cannas to bloom, but we have several more varieties in another bed, which we affectionately refer to as Cannanarama. Hopefully I will have pics of those flowers to share soon!

Monday, April 19, 2010

What's Growin' On: Happy Cacti


smcactus_bloom2

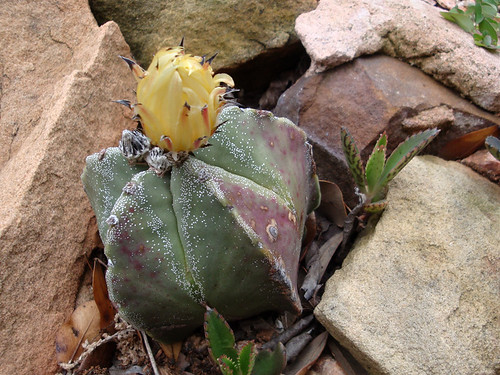
Well, lookee here! This little cactus (which was labeled "assorted cacti" or something equally vague, so I don't know what it's called) has been a mystery to us ever since I transplanted it directly into the ground last summer. Patrick thought it was dead, but I've been optimistic because I thought it was getting bigger. I was doubtful of the little plant's health however, because of the way its flesh started turning purple (anybody know if that's normal?). But judging by this big yellow bloom that appeared yesterday, I'd guess it's doing just fine. The two grayish, fuzzy things underneath the bloom are 2 more flower buds! Pretty exciting.


pricklypear

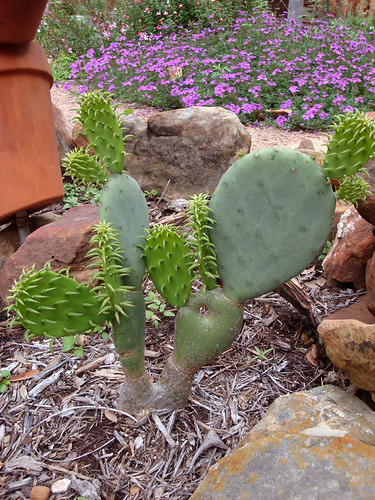
Also exciting is the abundance of new growth on this Prickly Pear. We had a bunch of cactus cuttings that we got from my parents' house down in Houston last year, but most of them froze. This one's a trooper, though!

Tuesday, April 13, 2010

New Metal Roof on our Patio!


metalroof5

Weekend before last Patrick finished installing a new cover on our back patio. It's made of sheet metal & it looks awesome!

before:
coveredpatio_cleared
The original cover was made of corrugated plastic that was yellowed & unattractive. Plus, the gutters were no longer doing their job, so the fascia board on the house was rotted out & in need of repair. You can see all the gory details in my outdoor room set on Flickr, if you're so inclined.


after:
metalroof8

We've got it set up with our lovely patio furniture now, too, so we're well on our way to creating our outdoor living room. More pictures coming soon...

What about you? Do you have an outdoor living space, or do you prefer to spend your down time indoors?

Saturday, April 10, 2010

What's Growin' On: A Burst of Orange!


poppies2
Our California Poppies are out in full force now - they're so gorgeous! Some people think of these lovely widlfowers as weeds, but I love them.

poppies5
There were a bunch of California Poppy seeds in the mix we planted in our wildflower buckets. I think they make a lovely counterpoint to the pink & blue flowers.

poppies6
They've also really inspired me in another fabric sculpture I'm working on, similar to my little giraffe. This new work of art is an elephant in a pretty jungle setting, with poppy-like flowers in the foreground (I'm not really going for botanical accuracy!). I'll post pics when I'm done.

Do you have California Poppies in your area? What are your favorite wildflowers?


Have a beautiful weekend, everyone!

Monday, March 29, 2010

What's Growin' On: Wildflower Meadow


I love, love, love wildflowers, with all their delicate shapes & interesting, bright colors.

backyard_wildflowers 008

I wanted to create a wildflower meadow in a not-yet-landscaped area of our backyard...

backyard_wildflowers 012

but we couldn't get the crazy, overgrown weed-heap in the back corner where I wanted the wildflowers whipped into shape quickly enough.

backyard_wildflowers 011

Lucky for us though, we scored several of these giant plastic tubs (used feed buckets) from my dad. So we just planted packets of wildflower seeds in 'em & voila!

backyard_wildflowers 014

A container wildflower meadow is a great substitute for the real thing. Unfortunately, the bluebonnet seeds were victims of a frost; only one super-strong little plant survived. See him in the otherwise-empty bucket on the right? He's just to the left of that big rock. We don't have an abundant display of bluebonnets like I'd hoped, but the other 2 buckets are overflowing with prettiness!

Friday, March 26, 2010

What's Growin' On: Mystery Plant


backyard_mysteryplant

The tag has faded & I can't remember what this is. Anybody know??? It's about to burst into bloom, whatever it is!

{UPDATE: It's Hyssop - check it out in bloom!}


Tuesday, March 16, 2010

What's Growin' On: Grape Soda-scented Yard!


TX_mountain_laurel3

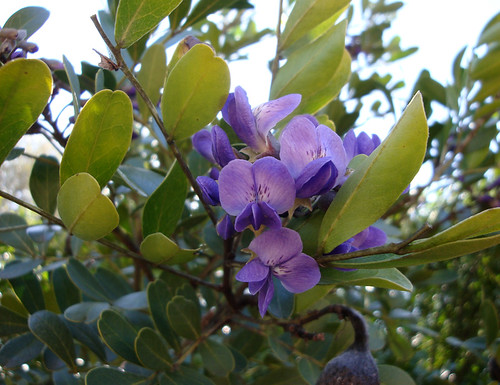
Have you ever seen a Texas Mountain Laurel in bloom? These southwest natives are simply amazing, with pretty purple flowers and an unbelievable aroma. They smell exactly like grape soda!

TX_mountain_laurel6

TX_mountain_laurel4

I can't decide which is prettier: the full-blown flowers or the delicate little buds with just a hint of purple peeking out. What do you think?

TX_mountain_laurel1

We have two of these trees, one in the front yard & one in the back, so the delicious fragrance is adrift throughout our whole lot right now. I wish this blog was in Smell-o-Vision so you could experience it for yourself.

TX_mountain_laurel9

Monday, March 8, 2010

What's Growin' On: Agave Pups, Crocus Bulbs & soon, Patio Furniture!


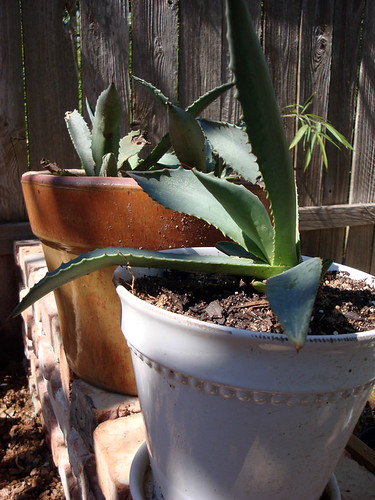
potted_agave_pups

Well, it's a very dark & rainy day here in Austin, so my plans to take pics of our growing-like-weeds wildflowers have been foiled. So instead I'll share a couple of photos from a recent sunny day that we spent gardening.

On that particular day we transplanted a bunch of pups from a big Century Plant that we have next to our driveway. This type of agave is very common in Austin, & you see some humongous ones planted in the front yards of houses in older neighborhoods. For some reason it was popular to plant them right at the edge of the yard, which means that the old, huge ones are often overflowing into the street. Anyone know why they so often planted them in what seems to be such a poor spot for them???

Here's Patrick sitting in front of a giant one in the beautiful Krause Springs garden, just to give you an idea of the scale of them. They can get even bigger than this one!

agave_Psitting

Anyhoo, we have the one next to our driveway (in a very inconvenient spot), plus a second one at the edge of our yard, which we are not quite happy with either. We plan to dig up both of them & transplant them to very large containers that will go in front of the window of my work room. But that will be another post down the road...

bulbs_crocus

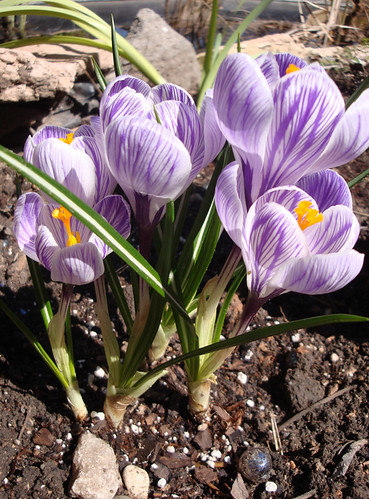
We also planted some Crocus bulbs at the edge of our little pond. Patrick rigged up a DIY filter system & bought some new fish & snails this weekend, too. Plus, we got some really cool planters at Miguel's Imports, so I'll have to take pics of all that when the sun comes out again.

Last pic of the day, our empty patio, for which I am anxiously awaiting the arrival of our new 4-piece set!

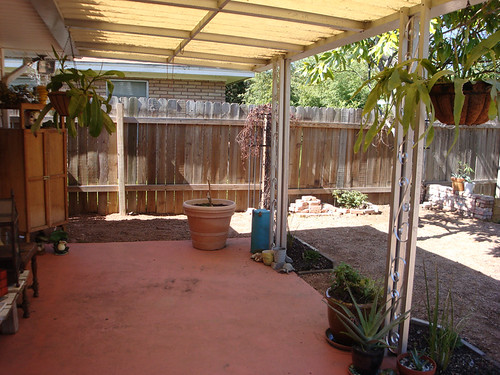
coveredpatio_cleared

Tuesday, January 26, 2010

What's Growin' On: Winter Color


christmascactus1

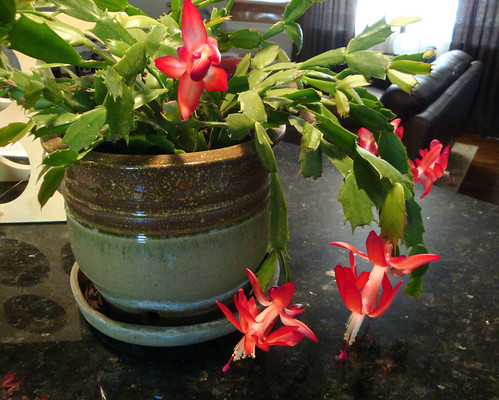
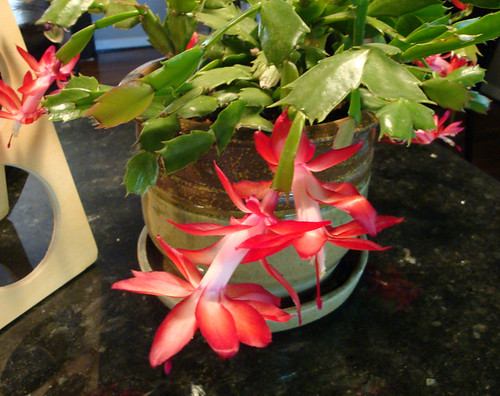
Most of our backyard is still looking wintry-sad, but our Christmas Cactus is in full bloom! We brought it inside to better enjoy it. Check out those gorgeous red blooms!

christmascactus2

Friday, January 8, 2010

Outdoor Oasis: Finished Brick Patio


Our patio extension has been finished since early November, but I'm just now getting around to posting about it. My super-handy husband, Patrick, did all of the hard work himself, and I think he did a fabulous job! He used unwanted antique Chicago bricks from a local contractor, found via Craig's List. In this photo, he hadn't yet filled in all the gaps around the patio's edge, but that's done now.

Here's how this area looked when we first bought the house, just over a year ago:

We've made quite a few changes in addition to the new patio:
  • replaced the windows (as well as those on the rest of the house)
  • sledge-hammered away those humongous rocks around the pond so that it's more integrated into the landscape & less Flintstones-y
  • painted the inside of the pond black so that it almost disappears & looks more like a real pond & less like a teeny-tiny swimming pool
  • removed those mind-bogglingly random pavers from around the pond & re-purposed them in other parts of the yard: the small square ones are now flower bed edging, placed on end & buried deep so that only a few inches of each are visible (it looks really good!), and the others were used to build a retaining wall for our compost piles
  • created the little rock bed with cacti cuttings from my parents' yard & our suspended flower pots (which are now empty save for one - some replanting is definitely in order!)
  • covered the ground with weed-blocking cloth & crushed granite gravel to create garden paths between our flower beds

We designed the patio together (of course I helped out with that - that's the fun part!), but Patrick did most of the work. I did help with the loading & unloading of all of those bricks when we got them from the contractor's site - 700 bricks! That's a lot of bricks. I didn't help much after that, though.

Patrick poured a foundation of gravel and sand and tamped it down, then laid each brick by hand (which ended up being even more than 700; he had to order more).

The last step was the coolest: sweeping sand across the bricks to fill in the gaps. It was mesmerizing to watch. I even swept a section myself; it was oddly satisfying. You start with a pile of sand, then sweep it across the bricks and it falls in between them, neatly filling in all of the spaces and leaving the tops of the bricks clean. I loved that step!

Of course I mostly love that our patio is all finished now. It looks amazing, especially with the shiny new grill we got as a Christmas gift! We've been using it a lot already, and can't wait for it to warm up so we can have friends over & enjoy being out there.

Next step in creating our Outdoor Oasis: converting that boring covered slab into a relaxing and beautiful outdoor living room! Stay tuned...

Sunday, January 3, 2010

Outdoor Oasis: Ideas I Love


We'll be continuing with our backyard landscaping this spring & transforming our little covered patio into an outdoor living room. These are just a few lovely design ideas I'd like to steal! Read all about our back garden as it unfolds in my What's Growin' On posts.

Photo sources:
1 & 2: beautiful landscaping & vertical gardens from Flora Grubb, via Design*Sponge
3: fun alternating pavers & plantings at the home of artist Dixie Friend Gay
4: adorable succulent teacups by Rebecca Marshall via Apartment Therapy

Tuesday, October 27, 2009

Halloween Costume '09: The Making Of & Final Pics!


Here I am with my handsome man, Patrick, all dolled up for the Mixx & Make Pre-Halloween Craftacular last Saturday night. We had a great time at the par-tay & people kept saying he looked like Frank Sinatra. Check out all the fun photobooth pics from Trevor Ray Thompson - they are fabulous!


In this post I'll walk you through how I made my Roaring Twenties costume. It was not very difficult because I started with this amazing beaded dress that had a very Twenties feel to it, except that the silhouette of the dress was all wrong. Also, it did not fit me at all (as in I couldn't get it over my rear end without ripping it).

The dress was a floor-length, fitted gown that was meant to cling to the body, with a low back & straps that criss-crossed across the back. The front had a deep v-neck & built-in, padded bra cups.


I neglected to get good pictures of the dress before I altered it, but it looked something like this (on someone who could fit into it):


Obviously it was all wrong for a decade known for a less feminine, decidedly not clingy, silhouette with short hemlines. The style of the day is epitomized in this picture from 1926 of the beautiful actress, Alice Joyce:

From my extensive research on the subject of 1920s fashion, I have learned that the evening gowns of the day usually consisted of a plain slip dress with a sheer overlay (which was often beaded). The original dress that I bought was made of a sheer material onto which all of the beadwork was applied, and the dress was fully lined with peacock blue satin (or something similar). The beaded overlay could easily be detached. That's why I knew that I could make something out of that floor-length evening dress when I saw it hanging on the rack at the vintage store, even though it didn't fit & it was kinda Dynasty-like.

I found this gorgeous vintage slip (circa 1965, I think) at Big Bertha's, another great vintage store in town. This slip did fit me, very well in fact. The slip was meant to be my undergarment for the sheer beaded overlay, but I love it so much that I didn't want to ruin it in the process. I had to design the overlay to be worn as a dress that hung independently from my shoulders, rather than sewn to the slip in any way.


So I had some major reworking to do. The first thing I did was separate the beaded overlay from the lining of the dress. I removed it from the entire column of the dress, but left the extra lining in the bust area intact so that it would not be sheer. I removed the padded bra cups because the 20s were all about minimizing the bust, not enhancing it.

Instead of ripping the seams, I opted to cut the lining away, leaving the seams intact. This left some of the lining material attached to the edges of the sheer overlay material. I did this because I knew the sheer material would be difficult to sew by itself, because it is so delicate & flimsy and frays easily.

Then I ripped open the seams on each side of the beaded overlay. I was left with a front piece and a back piece that were totally separated.

I cut off about 20 inches of the overlay at this point, taking the hemline from floor-length to about knee-length. The beads were tied on with a knot after every second bead, so although tons fell off during the making of this dress, they didn't all just go cascading to the floor when I cut the fabric.

I then used the lining material to make 2 side panels for my new flapper-style dress. Patrick helped me pin the panels in place while I was wearing both the slip and the overlay. I brought the overlay up in the front & back so that it just covered the top edges of the slip (the original dress had a much lower back). We figured out that I could just make the panels the same width all the way down, except for the very top of the dress. The beaded overlay wrapped around me more right under my armpits. We also figured out how much I would need to shorten the original straps of the beaded dress to make the new flapper dress hang the way I wanted it to. I glued the panels in place with Fabri-tac first, because I knew it would be a nightmare trying to sew them in. The glue holding everything in its place made it a lot easier to sew.

Instead of cutting off the straps, I decided to just sew them in place at the correct length, but leave them hanging down the back of the dress. I knotted them for a decorative touch. I liked the way this little detail looked (plus, it saved me a lot of time & work!). Too bad I didn't get a picture of the back of the dress while I was wearing it; would've been easier to see the straps.


That's about it. I shaped up the hem a bit after trying the dress on again over the slip. I cut it a little on the choppy side & made it short enough for that fantastic knife-pleated hemline of the black slip to show through. I left the cut edge raw & just let it fray. The look of the imperfect hem meshed quite nicely with the messy-ish side seams with their visible bits of the original lining. There were lots of beads missing here & there which the perfectionist in me wanted to sew back on, but luckily Patrick saved me from myself & reminded me that it was just a Halloween costume! All in all, I was very happy with how it turned out.

Stay tuned for a post about my hair, makeup & accessories later this week.
Blog Widget by LinkWithin