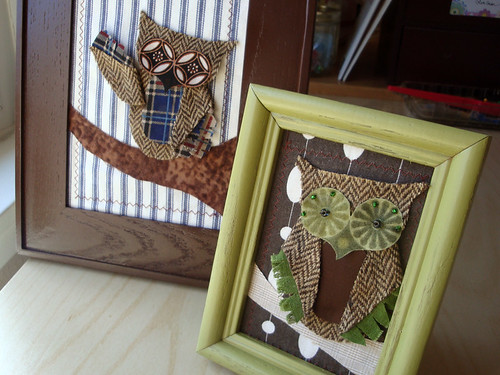
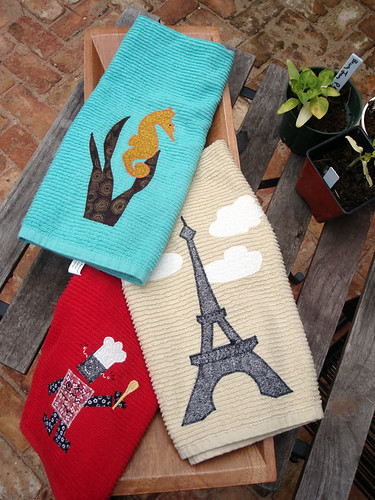
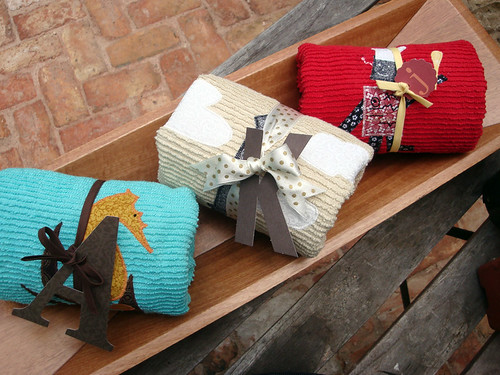
I made something new yesterday! I'm loving creating fabric sculpture with the help of my new favorite craft product,
Fabric Mod Podge! It's a fun way to use up scraps in your fabric stash. Trims, buttons & beads also make great additions.
I wanted to make a tutorial out of this, but it's more of an intuitive process than a step-by-step, and I wasn't very thorough about the photo-taking. But I'll share some pics of my process with you, & if you enjoy sculpting, just go for it! There's no right or wrong way to do it.
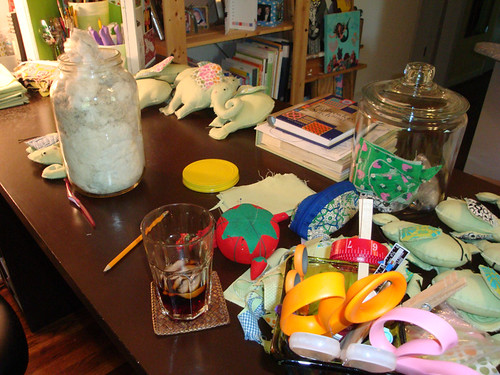
The Fabric Mod Podge acts as a glue & sealer in one, and it's specially formulated for use with fabric; regular Mod Podge will not work as well for a project of this nature (trust me; I've tried it). I use a small foam brush for most of the application and old junky paintbrushes for more detailed work. It's also good to use a wax paper-covered surface to work on if you want to protect your table. I've made a small, portable work surface by covering a piece of cardboard with wax paper & taping it on the back.
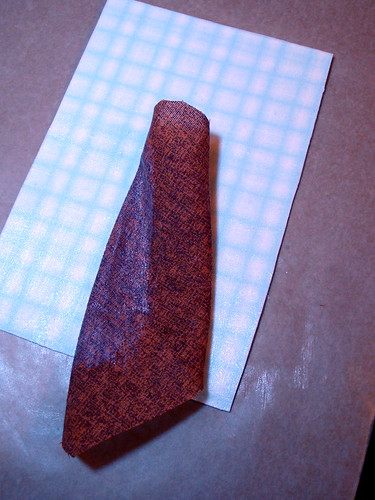
First, I coated a piece of checkered fabric with the Fabric Mod Podge (FMP) to serve as my background. I have found through trial & error that your finished piece will look better if the background material is coated. During the creation of your masterpiece, you may get some unintended gloops of FMP here and there that look messy on an otherwise uncoated piece of fabric. But if you coat the whole thing, they will just blend right in!
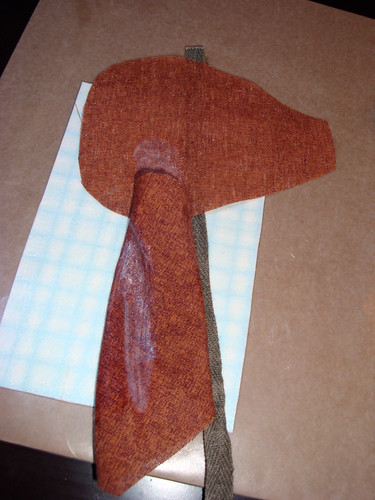
When that coated piece of fabric was mostly dry, I used a bit more of the FMP to glue the fabric to a piece of bristol board. Then I attached my first piece of brown fabric for the body of the giraffe. It was an irregular oval-shape piece that I rolled into a tube & glued the bottom sides down. You can see in the photo above that I also brushed some FMP onto the top side of the body in one area, to make the fabric stick to itself. I just wanted to get rid of some of the puffiness of the tube, but didn't want to completely lose the 3-D quality of the rolled fabric.
Then I glued down a piece of twill tape I happened to have alongside the body to create the giraffe's mane, tucking it under the body. Almost any kind of trim, or even a contrasting fabric, would make a cute mane.
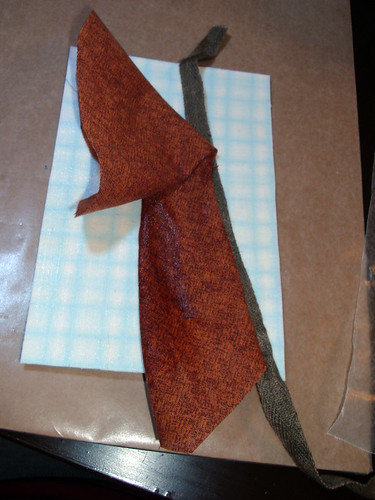
The next step of attaching a second piece of fabric for the head is where it starts to get trickier. I attached the fabric in a small spot that I knew needed to be glued down, then played with it a bit. I like to practice a few different folds & twists to see what I can come up with before gluing the rest down (being gentle with the fabric & not pulling too hard, because it does take a few minutes for the glued area to dry). You just have to go with the flow, enjoy the sculpting process & try not to get frustrated.
So I folded the piece down & attached it with FMP to create the giraffe's jaw line. Then I did a twisty-foldy maneuver to create his head & one ear, which I neglected to take pics of. It was kind of difficult, because I was holding & folding with my left hand & gluing with my right - sorry! : )
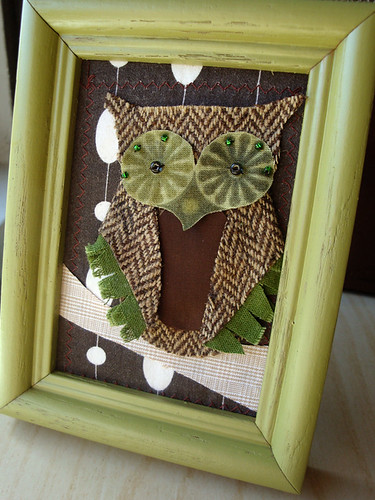
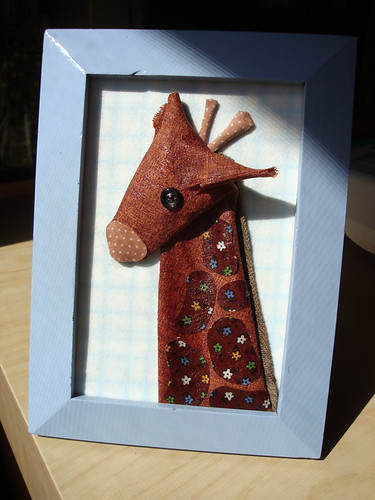
Here's the head & one ear all folded into place & glued down. I folded the mouth part under & created a rounded edge to it. I also added spots cut out of a cute floral fabric. I had coated these with FMP & let them dry before gluing them on (mainly because of that mess factor I mentioned when talking about the background - they just blend in better if coated).
I like to keep some of the fabric un-coated though to create some textural contrast between the stiffer, shinier, coated fabric & the fabric in its natural state. You can see that parts of the head & body are left uncoated - they have a softer look to them.
Again, I neglected to take pics of the final steps, but here's what I did:
- made the other ear out of a small piece of fabric & glued down
- cut a small piece of coated polka dot fabric for the muzzle
- rolled 2 little horns out of the same polka dot fabric (uncoated)
- glued on a button eye
- cut off excess mane & body fabric hanging at the bottom
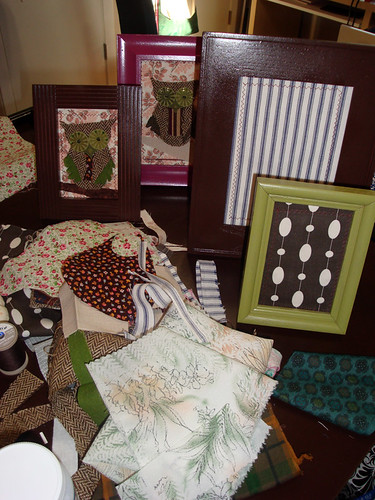
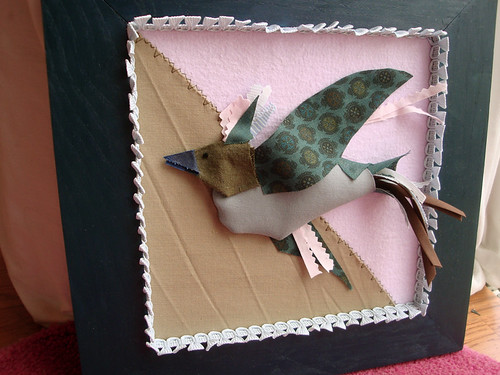
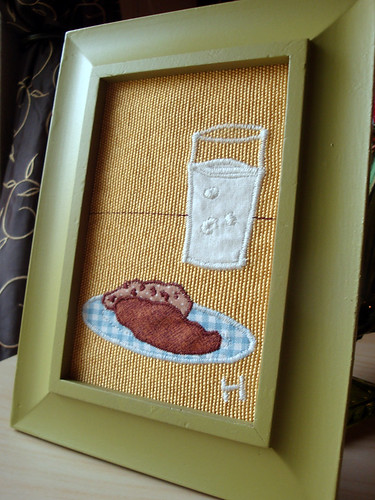
- framed it in a thrifted picture frame that I had spray painted blue &
voila!
Have you tried Fabric Mod Podge yet? If so, what did you make?